

The weather is beautiful so I thought some of you might be doing some planting this weekend. It’s a great way to celebrate Earth Day on Saturday! (See below for some other ideas as well.) With a little bit of extra attention to your planting, you can give your young plants a boost as they grow their roots to get the water and nutrients they need. I’ve put together a brief primer with some pics. I’d also love to hear from experienced gardeners with their tips or observations.
1. Get your gear together. Start with a shovel, some planting mix, and some water. You may find it helpful to have a bucket for the dirt you dig out. You may also want to wear gardening gloves, if only to keep the dirt out from behind your fingernails…
2. Put the right plant in the right place. This step is really important. How much sun will the plant get, and will it thrive there? How much water will it get? (If the place is irrigated, you want to put plants with similar water needs together.) Is there room for it to grow to its full size?
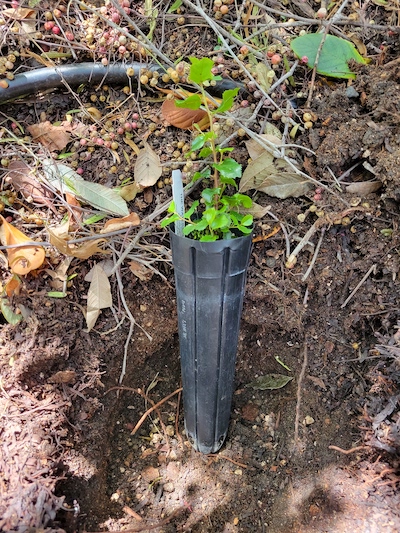
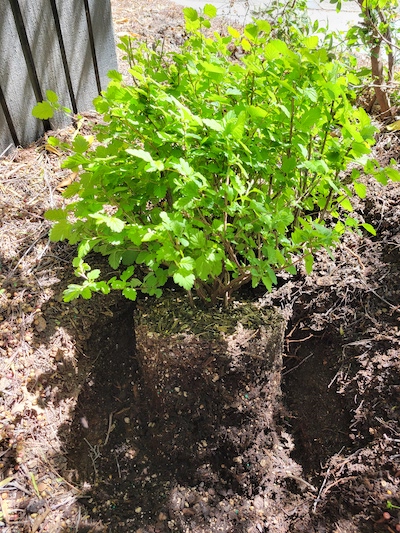
3. Dig a hole. This isn’t always easy but a good shovel helps. If you are digging in the ground (vs a large pot), you may have to move to avoid big roots or irrigation lines. You want a hole that is about as deep as the root ball and twice as wide. Put the dirt in a bucket or off to the side. I’ve been told that a rough hole is better than a smooth round hole because the roots can get purchase a little easier there. You can put the plant in the hole to check the hole size.
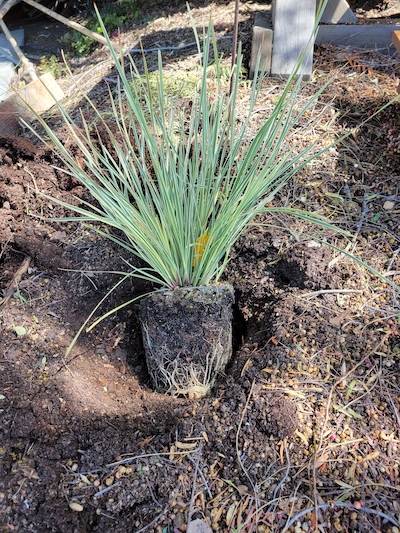
This one-gallon Lomandra ‘Platinum Beauty’ has a two-gallon hole.
4. Look at the dirt. This isn’t strictly necessary, but it’s useful for the future. Ideally you have dark, moist dirt with organic matter in it and a worm or two. You will find this kind of dirt where leaves have been left on the surface to decay into the soil. This kind of dirt smells and looks amazing, and plants will thrive here.
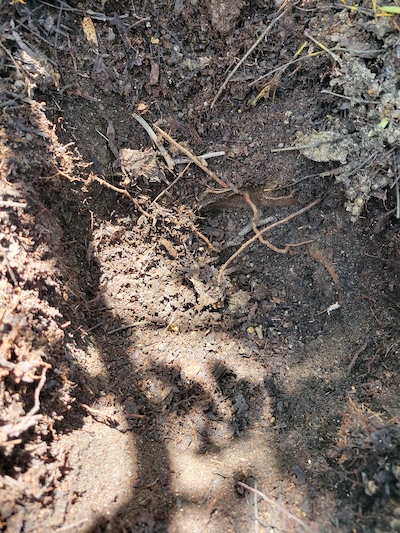
Good dirt has a lot of decomposing organic material in it.
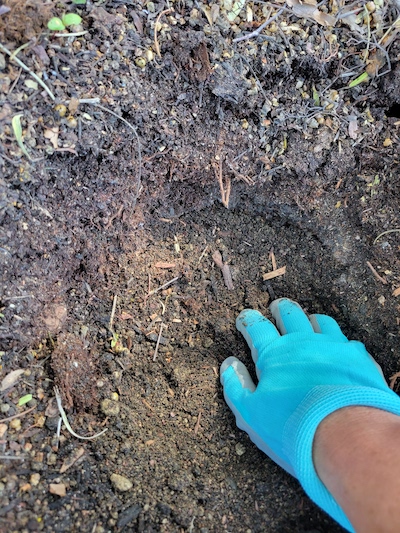
But we aren’t all so lucky. Some dirt hasn’t been exposed to much decomposing material, and some may even have been covered with concrete or artificial turf for years. It will be pretty barren, so this dirt will need more amendment.
Below is a picture of some dirt that was covered with concrete and then brick for decades. It was wet clay with no redeeming qualities before it dried out and was tilled together with some landscaping mix. It’s still pretty lifeless and clumpy but should be able to grow something.

Decomposing organic mulch will help improve dirt over time. Remember to leave your leaves on the ground if you want good, healthy soil. You may also be able to get leafy mulch for free from a local arborist. You can use woodier mulch as well, but it won’t decompose as quickly. That is a better choice for soil that is in good shape.
5. Add planting mix to the soil. Add some planting mix to the bottom of the hole and stir. This will make your hole a little shallower, which is okay. When the plant is in the ground, you’d like for it to stick up about a half inch above ground level.
You also want to add some planting mix to the soil that you dug out of the hole. You can just dump it on top of your pile and mix lightly there, or put it into your bucket and mix there. Normally you combine about 25% to 30% planting mix with 70% to 75% native soil. But use more planting mix if your soil is poor.
6. Water the hole. If you have water handy, water the hole. This is good for the roots of the plant, and the soil down here will stay moist for a while.
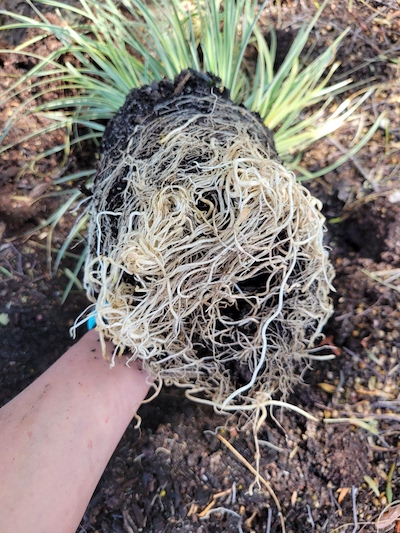
7. Prepare the roots. This is an important step. Unpot the plant and inspect and loosen the roots, especially at the bottom, to encourage them to explore the new hole. If the plant is very root bound, you can use garden shears to help loosen them. If there is a large circular root wrapping around the inside of the pot, you’ll want to straighten it out.
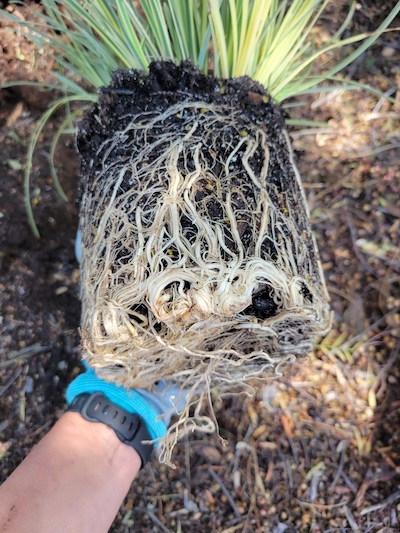
Lomandra roots prior to loosening.
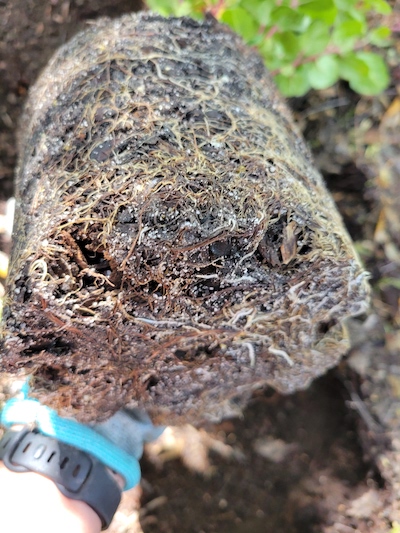
Here they are a bit looser at the bottom and on the sides.
Sometimes this isn’t necessary, for example if the plant hasn’t been potted long. But you always want to check.
This Evergreen Currant (Ribes viburnifolium) doesn’t have as many roots.
But still it helps to loosen them before planting.
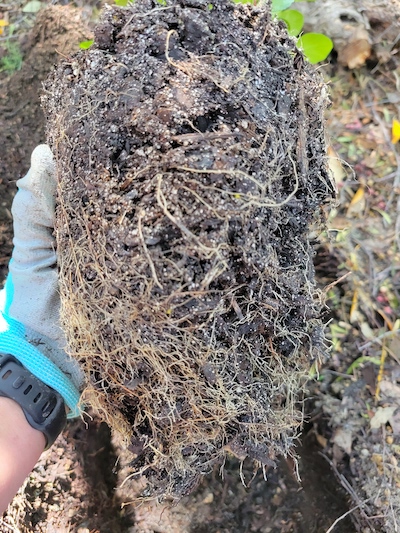
This Hollyleaf Redberry (Rhamnus ilicifolia) came in a Deepot, so is unlikely to be root bound.
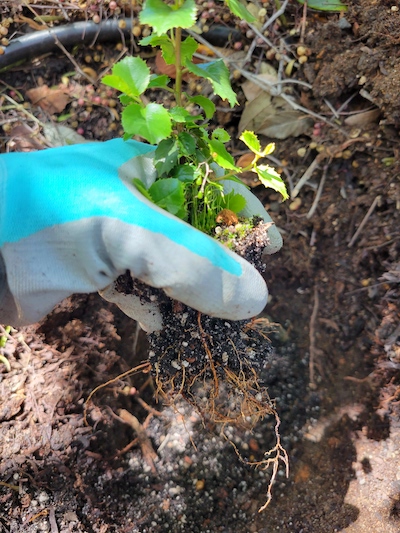
In fact, the soil all but fell away when it was unpotted. The roots are long and loose.
When you are loosening the roots, you can shake some of the soil from the plant into the hole and mix it in.
8. Place and orient the plant. Place the plant in the hole and turn it to face the way that you want. The branching structure you see may stay that way, especially for larger plants, so this can make a difference.
This 5-gallon Cream Bush (Holodiscus discolor) is oriented to show the wider side.
9. Fill the hole. Fill in the hole with the blended soil, which is either in your bucket or in a pile. The top of your plant’s root should be about a half inch about the surface. It is important not to bury the top of the root.
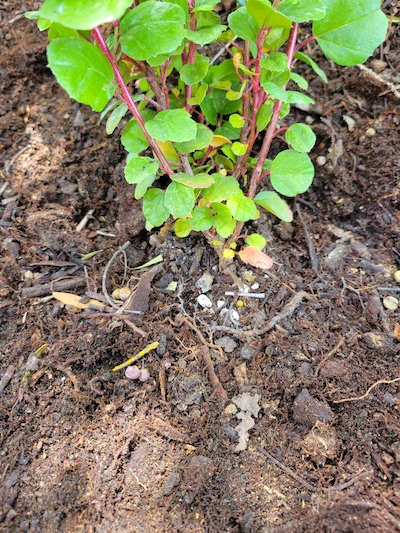
You can see the top of the root and pot soil once this currant was planted.
10. Water and mulch. Water the newly planted plant generously, and make sure the dug area is covered with some sort of mulch to keep the moisture in.
You will want to water a newly planted plant twice a week for the first few weeks, though less often for larger plants and more often for very sunny areas or sandy soil.
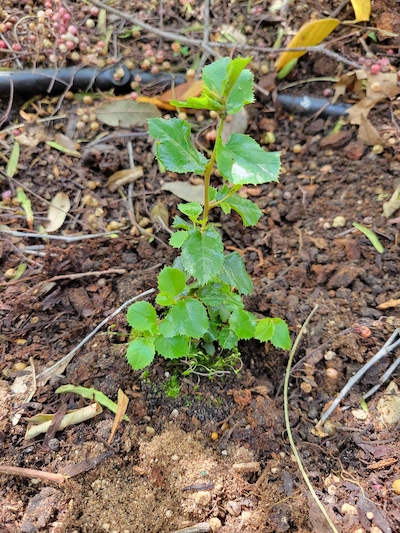
It feels great to grow something new, whether big or small!
There are lots of other great Earth Day activities on Saturday April 22. Some examples:
If you are interested in native plants and trees, check out Palo Alto’s Resource Fair at Rinconada from 10am to 1pm. There will be tours of native gardens, and staff members from Canopy will be in attendance. Mountain View’s Earth Day Festival from 9am to 1pm at the Rengstorff Community Center will have people from Grassroots Ecology and UC Master Gardeners.
If you are interested in plant-based eating, check out the Love Our Earth Festival at Menlo Atherton High School from 11am to 4pm. Acterra’s Plant-based Market will have over 20+ vendors offering delicious meals, innovative plant product sampling, and live cooking demonstrations from Anne-Marie Bonneau, the Zero Waste Chef, and Zaida Soriana from Zaida’s Kitchen.
If you are interested in home electrification, the Love Our Earth Festival will feature an “Ask the Expert” booth. Palo Alto’s Resource Fair at Rinconada will have members of the utility staff present for questions about electrification.
Want to go for a nice bike ride while learning about local ecology? Join a bike tour from 10am to noon leaving from Mountain View’s Rengstorff Community Center. “You’ll visit North Bayshore to talk about the landfill, the rookery on Shorebird Way to learn about native bird habitats, and enjoy a short stop along the trail before heading back to the Community Center. The ride will be on trails and neighborhood streets at a moderate pace.”
Interested in EVs? The Love Our Earth Festival will have 30 models of EVs to look at, Mountain View’s Earth Day Festival will be hosting test drives, and Acterra will be hosting an EV Expo “EVs and Espresso” on Sunday April 30 from 2-4pm in Palo Alto.
Current Climate Data (March 2023)
Global impacts, US impacts, CO2 metric, Climate dashboard
Comment Guidelines
I hope that your contributions will be an important part of this blog. To keep the discussion productive, please adhere to these guidelines or your comment may be edited or removed.
- Avoid disrespectful, disparaging, snide, angry, or ad hominem comments.
- Stay fact-based and refer to reputable sources.
- Stay on topic.
- In general, maintain this as a welcoming space for all readers.